Quick Start
Prerequisites
Before starting, ensure you have:
- Node.js 18+ installed
- pnpm 9+ installed
If not, see the Installation guide for setup instructions.
Step 1: Create Your Workspace
Run the scaffolding command in your terminal:
pnpm create supaslidev
The wizard prompts you for a few options:
- Workspace name: Enter a name like
my-presentations - First presentation name: Enter a name like
hello-world - Initialize git: Select yes (recommended)
- Install dependencies: Select yes
Wait for the dependencies to install.
Step 2: Navigate to Your Workspace
Once scaffolding completes, move into your new workspace:
cd my-presentations
Step 3: Start the Dashboard
Launch the interactive dashboard:
pnpm dev
This opens the Supaslidev dashboard in your browser.
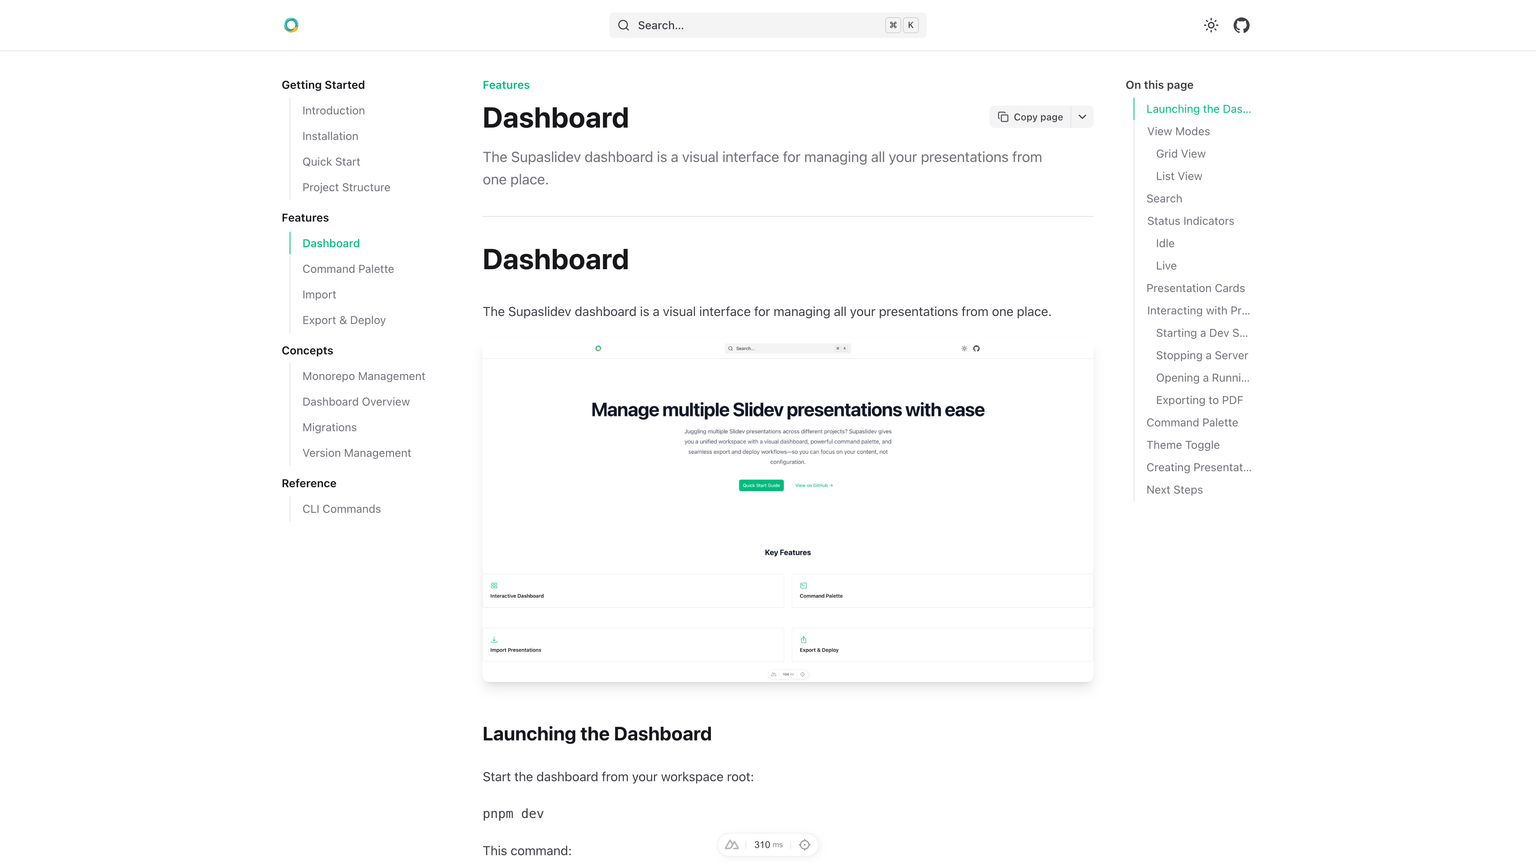
From the dashboard you can:
- See all your presentations at a glance
- Start and stop presentation dev servers
- Create new presentations
Step 4: Present Your First Deck
Click the Present button on your hello-world presentation card. This starts a Slidev dev server and opens your presentation in a new browser tab.
Alternatively, start it directly from the terminal:
pnpm present hello-world
Your presentation is now running at http://localhost:3030 with hot reload enabled. Edit presentations/hello-world/slides.md and watch your changes appear instantly.
What You've Accomplished
You now have:
- A Supaslidev workspace with centralized dependency management
- Your first presentation running in development mode
- The interactive dashboard for managing presentations